Showing posts with label tattoos. Show all posts

Friday, February 20, 2015

Water Decals Again!


I had only ever used nail tattoos (water decals) once before.  That was last fall.  I blogged about it.  I actually forgot exactly how to apply them, so I referred to that post before getting started today (http://ten-digit-design.blogspot.com/2014/09/nail-tattoos.html).  

nail tattoos

I started out with a base coat of Sally Hansen Double Duty.  I then painted two coats of polish on each nail.  On my thumbs and ring fingers (my accent nails) I used Sinful Colors Snow Me White.  I used Essie Loophole on the rest of the nails.  I then used tweezers to apply the tiny mirrored stickers on the silver nails.

nail tattoos

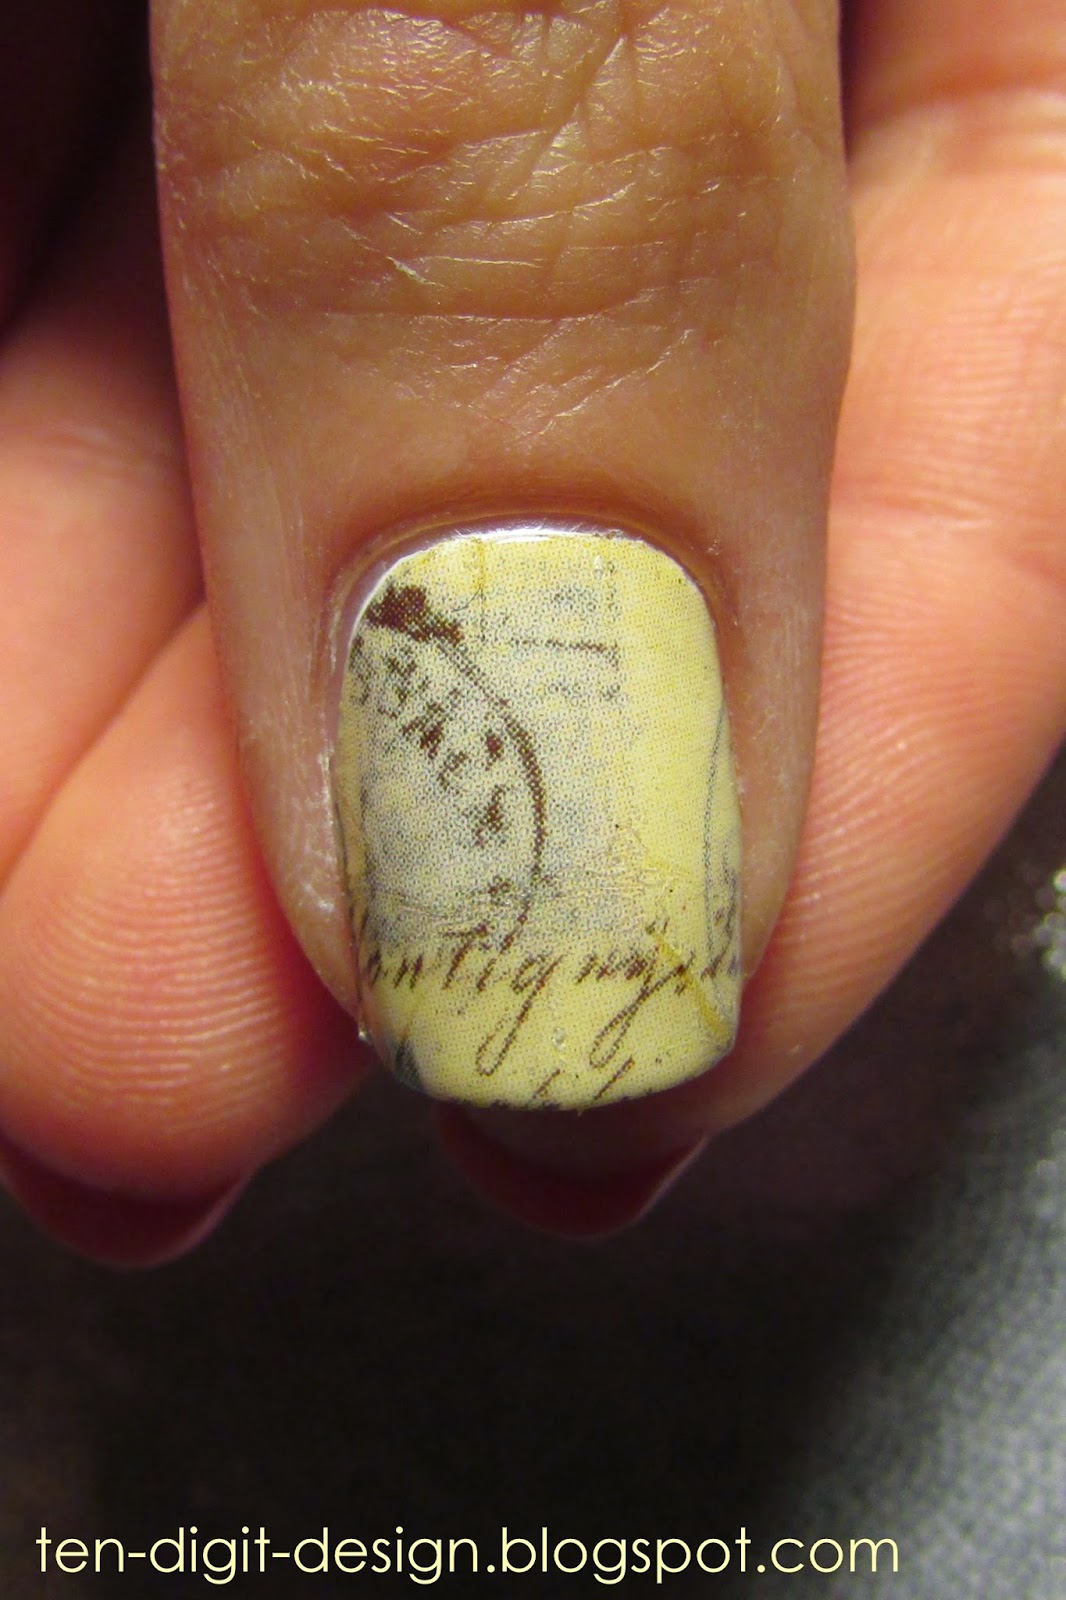
Before I even started painting my nails, I cut out pieces from the small sheets of nail tattoos I got from Walmart ("Heart 2 Art" brand).  I cut them so they were roughly the shape of my nails.  When I was ready to apply them, I filled a shot glass with water and then used tweezers to pick one up and dip it into the water for a couple seconds.  I then gently pressed the tattoo over my nail for ten seconds and then carefully slid off the paper backing.  

nail tattoos

There was a bit of excess tattoo at the end of some of the nails, so I took a nail buffing file and lightly filed the end of the nail with the non-abrasive side until I could easily pull off the excess.  I used my tweezers and gently pressed them along my cuticles to break off any excess there.  Acetone on a nail art brush can help you to remove the tiny bits that may be left over.  I'd suggest getting as much off as you can before resorting to the acetone because it melts the excess tattoo and creates a sticky residue. 

nail tattoos

To minimize cleanup, try to cut the tattoos as close to your nail shape as you can.  You can see on my ring finger that I accidentally wrinkled the tattoo while applying it.  You need to be very careful when sliding off the backing.  It isn't as noticeable in person, though.  Once you get the hang of these, they're actually a breeze to apply and clean up.  I would definitely recommend trying them out!  They are a lot of fun! 

I finished off with two coats of Sally Hansen Dries Instantly.
Follow me on Snapchat!

Friday, September 12, 2014

Nail Tattoos!


I finally bought some nail tattoos from Walmart!  I have been meaning to try those out for a while and I finally got around to it!  My semester is looking up a little because I dropped a really terrible class, but I am still crazy busy.  I have been able to do my nails around once a week, though.  This is from days ago (I don't even have it on my nails anymore), but I am going to do my nails again tomorrow for my birthday celebration!  I am going to be 20 on Monday!  I can't wait!  And it feels weird saying that I am going to be 20!  Okay, anyway, here is what I came up with days ago:


I started out with a coat of Essie Protein Base Coat and then painted two coats of Sinful Colors Snow Me White on the nails that I would be applying the tattoos to (in this case, my ring finger and thumb), and two coats of Sally Hansen Pink Blink (which I also bought at the same time I bought the nail tattoos) on the other nails.  I then used a dotting tool and top coat to stick the 2 mm gold square studs I got from Born Pretty Store to my pink nails.  I finished those nails off with two coats of Sally Hansen Dries Instantly.

Before applying the tattoos to my nails, I cut out the bits that I wanted on each nail and roughly trimmed the tattoos to the shape of my nails.  I then removed the plastic covering from the tattoo bits and picked one up with tweezers and dipped it into a little glass of water (I used a shot glass because it was a really nice size) and held it in there for a second or two.  I then took the tattoo and placed it face down on my nail and held it there for around ten seconds before easily sliding the paper backing off of my nail, leaving the tattoo behind.


I then smoothed down the tattoo and pressed the loose ends against the sharp tip of my nail so I could carefully removed the excess.  I used an orange stick to carefully break the excess around my cuticles.  I then took a nail art brush dipped in acetone and cleaned up even more.  The tattoos do dissolve in the acetone, but I would suggest taking off larger pieces of excess tattoo first and then using acetone to clean up small edges that you can't reach any other way.  I practiced on my right hand first and using acetone to clean up all of it was messy and sticky.  Also, I would recommend cutting the edge that will go at your cuticle with a curve so you have slightly less clean up to do.

I finished off the tattooed nails with two coats of Dries Instantly, as well.

I am super happy with the nail tattoos!  They were pretty easy to use and they looked so cool!  And they are only a couple dollars at Walmart for a set that comes with around 18 small sheets (by "small" I mean around 1 by 2 inches.)  The brand is "Heart 2 Art," by the way.