I literally JUST did this manicure! I am so so so excited and I couldn't wait to show you guys! I've been thinking about doing a manicure like this for over a year. Today I was suddenly inspired to just do it. Here it is:

I have been a Trekkie since I was 16 years old. I started out by watching all of The Original Series, and then I watched all of Voyager. I have watched almost all of Deep Space Nine, and I have watched some of The Next Generation. I don't like Enterprise. Sorry. I have also seen all of TOS movies. So, I love Star Trek. Out of all the captains, I have to say Captain Janeway is my favorite. She is such a great feminist role model! She is so strong, and she is very compassionate. I just love her. Okay. Anyway, here's how I did this:
I started out with a coat of OPI Natural Nail Base Coat, and then applied two coats of Revlon Forbidden on all my nails. This is a beautiful blood red. I only did art on my left hand's thumb and ring finger, so after the red was dry, I applied two coats of Sally Hansen Dries Instantly on all my nails, except for the thumb and ring finger of my left hand. I applied only one coat to the ring finger because I was going to use striping tape. I did not apply any to the thumb.

I used gold and silver metallic Sharpie markers to draw on the Star Trek communicator badge on my left thumb. I drew the gold part first, and then drew the silver part over top. This was my first time using metallic Sharpies on my nails. I have seen a lot of other people do this. It worked really well. Just make sure your base color is completely dry so you don't put dents in it. I made the mistake of being impatient, but the top coat smoothed everything out a bit. Also, be careful when applying top coat. Mine smudged and then I had to use a small nail art brush dipped in the red to clean up the edges.

So, all about the ring finger:
After my one coat of Sally Hansen Dries Instantly was all dry, I applied a piece of striping tape half way down the nail and then filled in the lower half (near the tip) with Sinful Colors Black on Black. When that was dry, I took acrylic paint (I mixed the color. I used a gray and a teeny bit of navy blue to make the slate gray color) and a tiny detail brush and painted on the shape of the undershirt. I then took my Sharpies and drew on the communicator badge.
When the gray acrylic was dry, I mixed up some tan (also acrylic) for Janeway's skin. I mixed an ivory color with a teeny bit of reddish brown. I then painted it over top of the gray in the shape of a half moon.

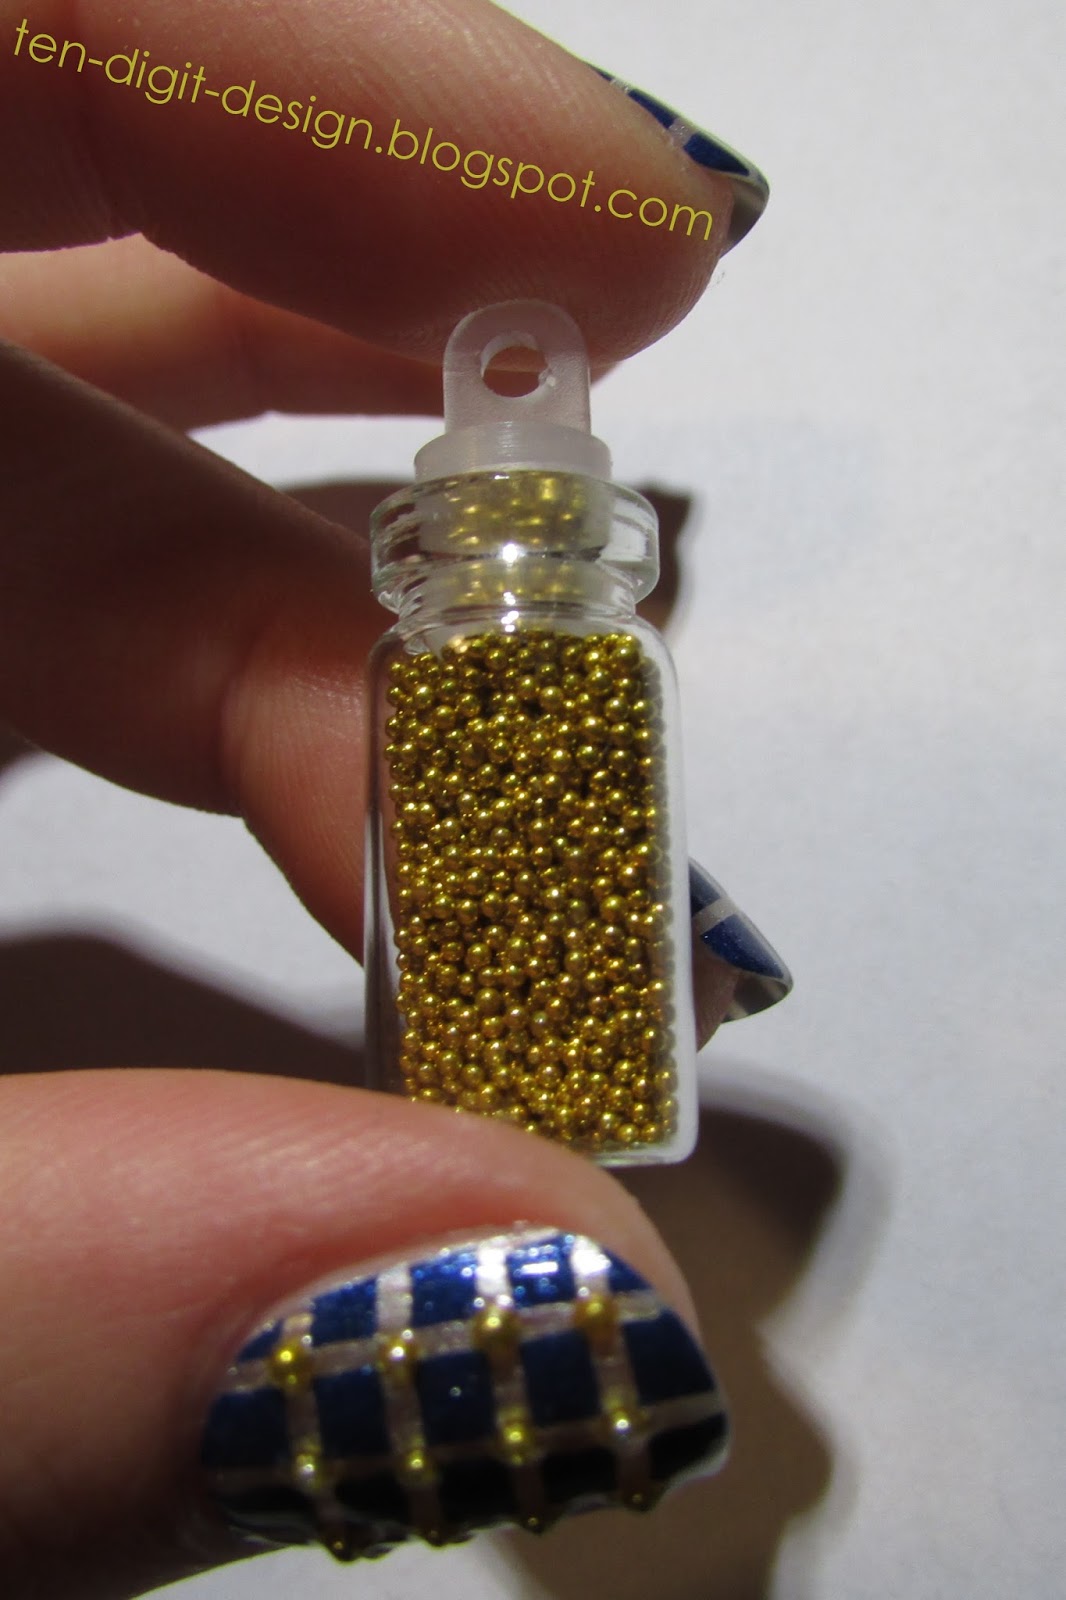
Lastly, I applied four bronze microbeads on the "collar" for Janeway's rank insignia. I finished those two nails off with two coats of Dries Instantly.

I had a bit of a catastrophe while applying my top coat. I accidentally smudged the communicator badge and the acrylic paints with the top coat. I remained calm. I just waited for the top coat to dry and then used my teeny nail art brush to paint over the smudges. You can't really tell anything happened. JUST KEEP CALM! YOU CAN SALVAGE ALMOST ANY MANICURE! Haha!
I hope you liked this post! Remember to follow me on Instagram at popstermargie and Snapchat at margie-jane. You can also like Ten Digit Design on Facebook and follow my Ten Digit Design Pinterest board from my Maggie Victoria profile.