Showing posts with label Essie Oui Madame. Show all posts

Monday, June 1, 2015

Checkers and Microbeads


Hi!  It's been so long since I have blogged!  Since I blogged last I have graduated with an associate's degree in childhood education.  I have been really busy with stuff.  I finally got around to doing my nails yesterday!  I am happy with how they turned out!  
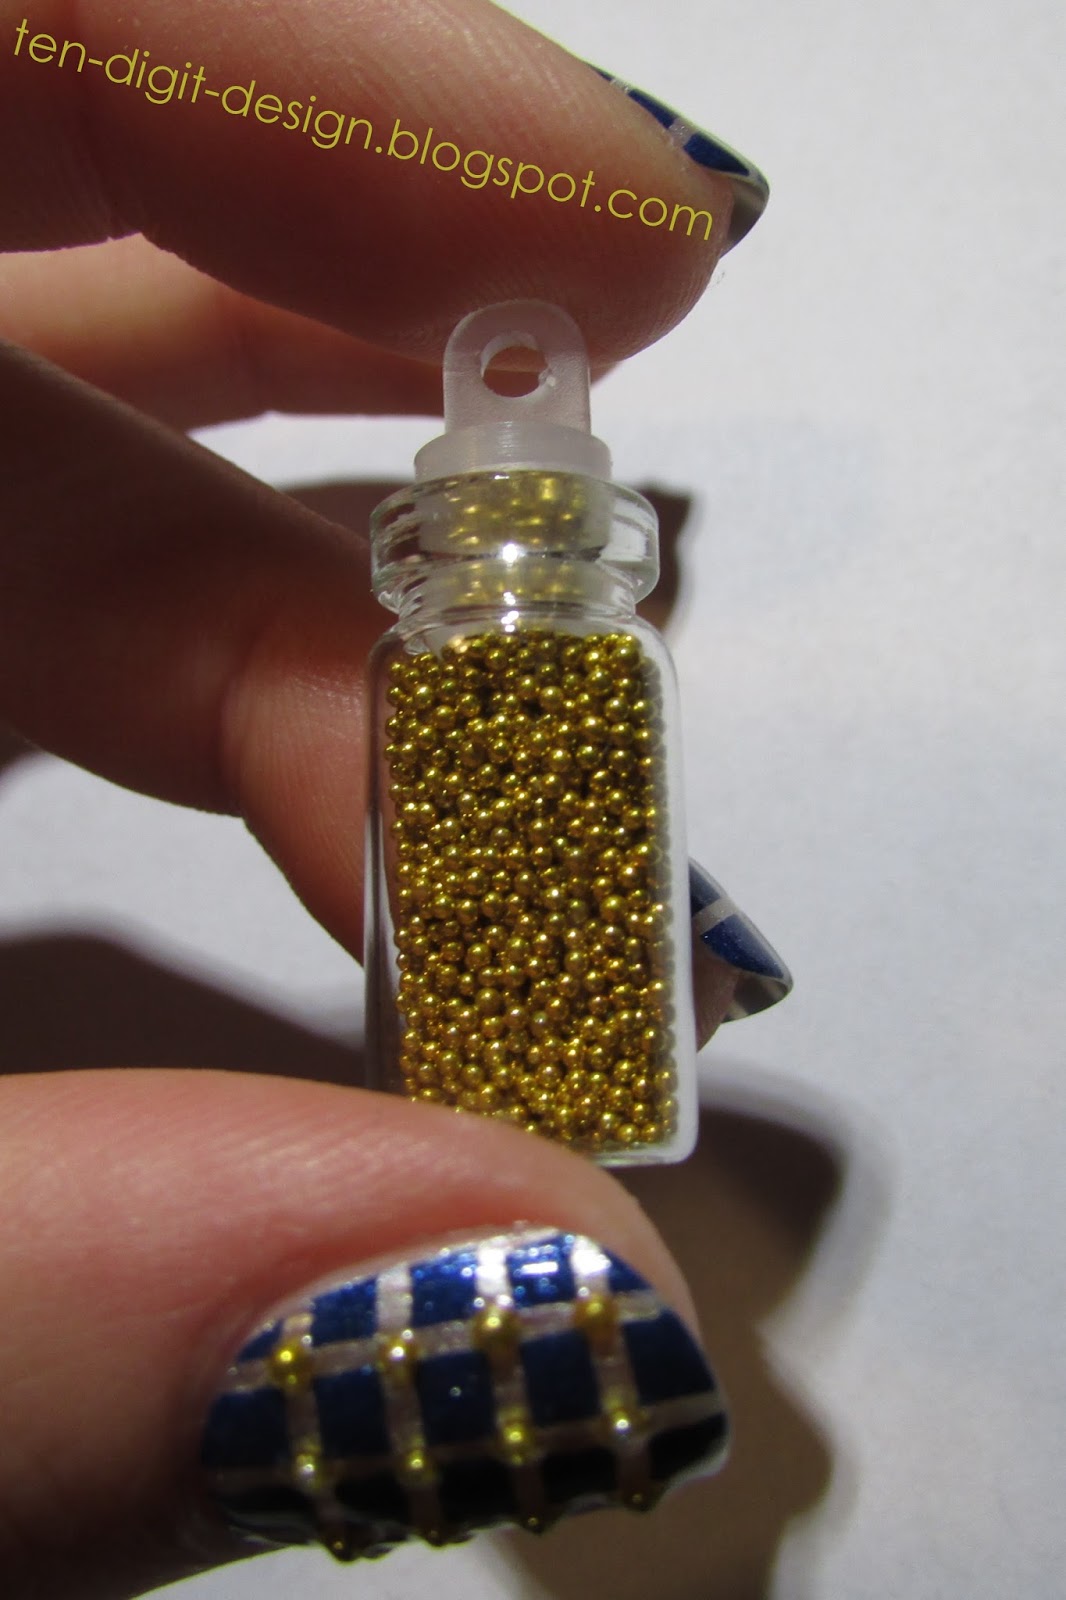
Before I go in to the manicure, I just want to show you a couple cool things!  I got a great pair of tweezers from Amazon that are great for manicures!  I also got microbeads, tiny metallic balls that can be used for caviar nails and other nail looks:

nail art tweezers

microbeads

Okay, on to the manicure!

checker and microbead manicure

I started out with a coat of OPI Natural Nail Base Coat.  (This base coat is GREAT!  It keeps staining to a minimum.  This is definitely the best base coat I have ever tried!)  I then started cutting pieces of striping tape.  I used 62 pieces in all.  

I then applied two coats of Essie Oui Madame and then a coat of Sally Hansen Dries Instantly to avoid the tape pulling up my base color.  I then began applying the striping tape.  I used my curved tweezers to do that.  It is best to not touch your nails when you are doing them as the oil from your skin can shorten the life of your mani.  I made sure I remembered the order in which I applied the striping tape.  I applied the horizontal stripes first, so when I removed the tape I made sure I removed the vertical tape first.  You remove striping tape in the opposite order from how you applied it

checker and microbead manicure

So, anyway, I applied all the tape and then painted over top of it.  I used Milani Sail Away.  I immediately removed the tape with tweezers after painting each nail.  I then took gold microbeads and applied them at the intersections of the criss-crosses on my thumbs and ring fingers.  I used clear nail polish and a dotting tool to do this.  

checker and microbead manicure

I finished off with two coats of Sally Hansen Dries Instantly.  The top coat made the color on the microbeads bleed off a bit, as you can probably notice.  The microbeads feel quite scratchy!  

checker and microbead manicure


Tuesday, March 24, 2015

Looks Like Gunmetal


I'm back!  I was away with my best friend for almost a week.  I did this manicure right after my pink pearl one, but didn't feel like posting it right away.  I had said in that post that I couldn't wait to use Essie Oui Madame over a black polish.  Well, I tried that soon after.  I was hoping that the final effect would be a darker black pearly color, but I ended up liking it because it did make a really neat color. It turned out to look like gunmetal.

gunmetal nails

I started out with a base coat of Sally Hansen Double Duty.  I am really excited because I ordered OPI Natural Nail Base Coat yesterday!  I can't wait to try it!  I've only ever tried two base coats before.  Sally Hansen Double Duty is okay, but does not prevent staining at all.  That is why I really wanted a new one.

gunmetal nails

Anyway, I then applied two coats of Sinful Colors Black on Black.  I waited until that was dry, and then I applied one coat of Essie Oui Madame.  I was surprised with the final product.  It was actually really pretty.  Just unexpected.  I finished off with two coats of Sally Hansen Dries Instantly.

gunmetal nails

I am also excited because I ordered some triangular silver studs and a new nail polish from Amazon.  Ever since I saw a picture of it on Hannah Rox It's Facebook page, I was on the lookout for Essie Just Stitched, a light pink matte polish from the new Cashmere Mattes collection.  I will definitely be swatching that one!

Follow me on Snapchat!


Monday, March 9, 2015

Pink Pearl

I finally figured out the best use for one of my polishes!  Essie Oui Madame, a sheer pearly color (also, one of the first polishes I ever bought) is best for giving any polish a pearly finish.  It is soooo pretty! 

pink pearl nails

I started out with a base coat of Sally Hansen Double Duty.  I then applied two coats of Sally Hansen Pink Blink.  When that was dry, I applied a coat of Essie Oui Madame and finished off the manicure with two coats of Sally Hansen Dries Instantly.  Super easy!

pink pearl nails

I am now really excited to use this polish over other colors!  I really want to use it over black!  It is just SO SO pretty!  You can also use Oui Madame by itself, but I am really liking it over top of colors!

pink pearl nails

Follow me on Snapchat!


Friday, September 19, 2014

Vintage Half Moon Mani!!!!

Hi Guys!  Once again, I went FOREVER without blogging.  I am now 1/5 of the way through this semester.  Haha!  Counting down the days!  I did a manicure last week and haven't posted it yet, but I did another manicure today and I am so so so excited about how it came out!  I rounded my nail tips today and then decided to do a manicure that looks better with rounded tips!  I remembered how much I had always wanted to create a vintage half moon mani!  So, I did it!  Here it is:


So, half moon manicures are actually from the 1930s and '40s!  I LOVE vintage stuff!  I have many more pictures of my manicure down below.  I was just so super excited about how it came out!  Here is an old advertisement for nail polish:


Now, on to the tutorial!

I started out with a base coat of Essie Protein Base Coat (this really keeps my nails from staining).  I then painted on two coats of Essie Oui Madame (I LOVE that name!  It is a sheer, pearly color) on all of my nails.  After that was dry I painted on a coat of Sally Hansen Dries Instantly so the tape wouldn't pull up my base color.  

Another thing you can do as a precaution before applying tape (that you are planning to remove) is to stick the tape to the back of your hand to take off a little of the stickiness.  I applied half of a hole reinforcement to each of my nails near the cuticle and a french tip guide (you can use a curved or straight strip of tape too) to each of my nail tips.  I made them cover the entire tip of my nail without leaving any nail showing beyond them because I wanted to keep the entire tips the white color.  

Don't apply these like you would if you were going to paint French tips on your nails (unless you have really long nails).  It is easy to do that because of being so used to applying them that way.  You want to cover the whole tip.

I then painted on a coat of Rimmel Stiletto Red in between the two pieces of tape on each nail.  As soon as I painted each nail, I quickly removed the tape.  I cleaned up the sides of my nail beds with a nail art brush dipped in acetone.  If any red polish went under the tape I took the brush dipped in acetone and lightly dabbed at the messy edges to remove the teeny jagged bits of red polish.  Just don't dab the brush too many times in one spot or your base color might come off too.  I finished off the manicure with two coats of Dries Instantly.

I have this really old makeup kit that I found in my grandma's antique shop.  I decided to use this as a prop for my photos.  Enjoy!


Vintage pics!


Thursday, April 24, 2014

Throwback Thursday! Water Marbling

I have never done a Throwback Thursday before, and I have been meaning to do this post for a few weeks.  I took a ton of pictures of my nails with my lousy cell phone camera before starting this blog, but when I did water marbling on my nails a few years ago, my mother took pictures of my hands with her good camera so I could immortalize my design.  You can see how far my nails, cuticles, and technique have come since that time:


I have only ever done water marbling once.  I didn't even get the technique down perfectly.  You are supposed to paint on a layer of white before water marbling.  Anyway, I will go through how I did this.  I know I followed the instructions somebody on Youtube gave.  I don't know who.  Cutepolish, maybe?

For the nails that I didn't water marble, I applied Sally Hansen Espresso.  For my marbled ring fingernails, I used Sally Hansen Espresso and Essie Oui Madame.  I made sure the water in my cup was room temperature and I put scotch tape around my nails that would be marbled to minimize the cleaning up I would have to do.  I dropped some drops of the polish into the surface of the water and swirled them with a toothpick and then put my nail in the part of the design that I wanted on my nails.  I then blew on the surface of the water for 10 seconds to dry the rest of the polish and I used the toothpick and swirled the dried excess polish around it and then removed it from the water.  Then I took my finger out of the water, removed the messy tape, and used a Q-Tip dipped in polish remover to clean up my cuticles a bit.  I don't think I applied a top coat.

If you guys want, I could post the cell phone pictures I have of many, many designs that I did before starting the blog.  I wouldn't do tutorials for them, but you could have a look at the designs for some inspiration.  Tell me in the comments if you'd be interested in seeing them!  And, of course, I would be glad to answer any questions you had about colors I used in the manicures!