Showing posts with label Sally Hansen Pink Blink. Show all posts

Tuesday, May 5, 2015

Ziplock Bag Technique


Hi!  Today's post is inspired by ohmygoshpolish from Youtube.  She does AMAZING manicures!  Around a week ago she released a video called "Zip Lock Bag - Navajo White Howlite."  In this video, she used a cool technique involving a ziplock bag!  I wanted to give it a try.  I will explain the method, but watch her video if you want to see it done!

https://www.youtube.com/watch?v=4v2hybB-Cw4


ziplock bag manicure

I started out with a coat of OPI Natural Nail Base Coat.  I then painted on two coats of Sinful Colors Snow Me White.  After that was dry, I went on to the ziplock bag technique.

ziplock bag manicure

So, you need a ziplock bag.  I used a small sandwich sized one.  I chose three polish colors, one of them my base color.  So, I used the white, Sally Hansen Pink Blink (the light pink), and Essie Angora Cardi (the dark pink).  I took a dotting tool and randomly dotted on some white (you can also just use the brush from the bottle of polish.)  You do not need to be at all neat with this because you eventually squish it all with your plastic bag.  I then immediately dotted on some of each of my pink colors.  Don't worry about them mixing.  This is totally fine.  

Right away, I grabbed my plastic bag and pressed it onto my nail on the wet polish.  I then immediately peeled it off and was left with a marbled effect.  If you ever aren't happy with a nail, just add more dots and squish the bag onto your nail again.  You can't go wrong!  

ziplock bag manicure

I wanted this to be glittery and even more girly, so I added a coat of Salon Perfect Cosmic Dust, a very fine holographic glitter which I love.  I finished off with two coats of Sally Hansen Dries Instantly.
This is what my bag looked like after I used it on all my nails:
ziplock bag manicure
the aftermath

ziplock bag manicure

I am nearly done with this semester of college.  I cannot wait for it to be over.  I am going nuts!  Is anybody graduating?  Leave a comment!  =)
   

Friday, May 1, 2015

eos!


I have been loving eos lip balms for years.  I remember I was in my local grocery store, which I also used to be a cashier at, the first time I saw them.  The first one I bought was honeysuckle honeydew, the light green one.  I now have all of them (counting limited editions, there are 17).  So, I use them just about every day.  When I was half asleep this morning, an idea popped into my head: eos manicure!  So, here it is:

eos inspired nails

I started out with a coat of OPI Natural Nail Base Coat.  I then applied two coats of different colored polishes to each nail.  I matched the colors as closely as I could:

eos

Yellow--Avon Sunshine; Pink--Sally Hansen Pink Blink; Teal--Rimmel Mintilicious; Blue--Essie Borrowed & Blue; Purple--Pure Ice Lacquered Lilacs

eos inspired nails

When that was dry I mixed some gray and white acrylic paint to make light gray and used a toothpick to stipple on the eos logo.  I then applied two coats of Sally Hansen Dries Instantly and then a coat of NYC Matte Me Crazy.  This made the texture look more similar to the rubbery packaging of eos lip balms.

eos inspired nails

eos inspired nails

eos inspired nails

eos inspired nails

Monday, March 9, 2015

Pink Pearl

I finally figured out the best use for one of my polishes!  Essie Oui Madame, a sheer pearly color (also, one of the first polishes I ever bought) is best for giving any polish a pearly finish.  It is soooo pretty! 

pink pearl nails

I started out with a base coat of Sally Hansen Double Duty.  I then applied two coats of Sally Hansen Pink Blink.  When that was dry, I applied a coat of Essie Oui Madame and finished off the manicure with two coats of Sally Hansen Dries Instantly.  Super easy!

pink pearl nails

I am now really excited to use this polish over other colors!  I really want to use it over black!  It is just SO SO pretty!  You can also use Oui Madame by itself, but I am really liking it over top of colors!

pink pearl nails

Follow me on Snapchat!


Tuesday, March 3, 2015

International Women's Day Nails!!

Well, I had been doing well with blogging.  Oh, well.  I am super excited about this manicure today!!  March 8th is International Women's Day!  I will be away this weekend with my two best women (my sister and my best friend), so I won't have time to do a mani then.  I decided to do it a little early!

My inspiration:  Rosie the Riveter


rosie the riveter nails

I started out with a coat of Sally Hansen Double Duty.  The I painted two coats of polish on all my nails.  On my thumbs I used Sally Hansen Pink Blink; on my ring fingers I used Sinful Colors Gogo Girl; and on the rest of my nails I used Avon Sunshine.  I then applied a coat of Sally Hansen Dries Instantly on the yellow nails to get them ready for tape.  

On my thumbs I took a bunch of earthy polishes to represent skin tones and then dotted those on to form a female sign.  I used a couple different sized dotting tools to do this.

female sign nails

Then I moved on to my ring fingers.  I used white acrylic paint and a dotting tool to make my polka dots, like on Rosie's bandanna.  

rosie the riveter nails

I then applied corners of squares of masking tape near my cuticles on the yellow nails and then painted over that with Sally Hansen Thinking of Blue.  These are supposed to be Rosie's blue shirt.  I used yellow because it matches the background of the Rosie the Riveter poster.  

rosie the riveter nails

Anyway, after the blue dried, I mixed gray and white acrylic paint together to make a lighter gray.  I then took a small detail brush and outlined the collars of the shirt and painted on the lapels and buttons and line showing where the shirt comes together.  I used gray acrylic paint and a dotting tool to add Rosie's lapel pin.

I finished off with two coats of Sally Hansen Dries Instantly.  

HAPPY INTERNATIONAL WOMEN'S DAY!  BE PROUD TO BE A WOMAN!!

You can follow me on Snapchat if you want!


Friday, February 13, 2015

Valentine's Day Stamping

I have finally been festive!  I feel like I have been missing my chances to have festive nails for holidays and such.  Happy Valentine's Day!

valentine's day heart nails

I started out with a base coat of Sally Hansen Double Duty.  I then painted on two coats of Sally Hansen Pink Blink on all of my nails.  I did my thumbs a little differently:

conversation heart nails
Conversation heart!
I created a top of a heart shape near my cuticle so these nails could look a little like conversation heart candy.  If I were to do this again, I would start it farther down on my nail.

valentine's day heart nails

After letting the base color dry, I painted a coat of Bonbons pink glitter on my middle and pinky fingers.  I then stamped the rest of my nails.  On my pointers and rings, I used Bundle Monster's plate BM-317.  I used an old black polish so the images were dark (an old, goopy Sally Hansen Black Out.)  On my thumbs I used Bundle Monster's plate BM-425 to add the "I love you."  I used an old, goopy white polish so that it would be very opaque (Sally Hansen White On.)

valentine's day stamping nails
  
I painted a very fine holographic glitter (Salon Perfect Cosmic Dust) over my rings and pointers.  This is a BEAUTIFUL polish!  I included the picture above, even though it is a little blurry in spots, because you can really see the rainbow on the holographic glitter.  I finished off the manicure with two coats of Sally Hansen Dries Instantly

Remember to follow me on Snapchat at "margie-jane!"


Monday, October 27, 2014

Cotton Candy Gradient


Whoa.  I cannot believe I haven't posted in almost a month.  School's been busy.  Tonight I, maybe, could be studying a bit more, but I was suddenly overwhelmed with the overwhelming desire to blog.  So, you see what won.  I haven't done much nail art recently.  This art is from weeks ago.  I am looking forward to trying out one thing for Halloween, though.  I'll need to get on that soon!  Anyway, here's what I came up with a while ago:

cotton candy gradient nails

I started out with a coat of Essie Protein Base Coat.  I then painted on two coats of Sinful Colors Snow Me White.  After that, I painted on a coat of Sally Hansen Dries Instantly to avoid pulling up my base color with my sponge.  

cotton candy gradient nails

When that was all dry, I took a makeup sponge and painted on a stripe of three different colors.  I made sure they all overlapped a bit to help the color transition to be smooth.  The purple is Rimmel Wild Orchid; the blue is Essie Blue Rhapsody; and the pink is Sally Hansen Pink Blink.  I stippled the color over my nails with the makeup sponge until the color was as opaque as I wanted it.  I flipped the sponge over so that the order of the colors alternated on my nails.  On my pointer and ring fingers I wanted the purple to be at my cuticles, and I wanted the pink to be at my cuticles on my other three nails.

 I then applied two coats of Sally Hansen Dries Instantly.  It's super fun to do gradients because the thin layer of polish dries really fast and a top coat will only help the colors to blend in more.  You don't really need to wait to apply the top coat!

cotton candy gradient nails

This rounded nail shape has been working out for me so well!  I can grow my nails longer and I don't have any more sharp corners that catch clothing and/or break off!  My manicures last for so long because no part of my nails bend!  They're way stronger like this!  The corners of my nails used to always bend and then the polish would chip off.  Also, my actual nails have not been flaking!  Certain nail shapes work better on different people.  Experiment until you find out what's best for you!

I will try to post more often.  I really do enjoy blogging.  The wisest thing I have read on a blog is that you should not blog when you don't feel like it.  A blog is supposed to be fun, and if I don't feel like writing a post, the post will not be of high quality.  It can't be forced.  So, anyway, I haven't forgotten about the blog and I hope to do some more manicures!  I am super excited to do a Halloween manicure!  I hope you have all been doing well!  

Remember to check me out on Pinterest and Facebook!  I am on Pinterest all the time!  My Facebook and Pinterest are linked on the right side of my blog!

Friday, September 12, 2014

Nail Tattoos!


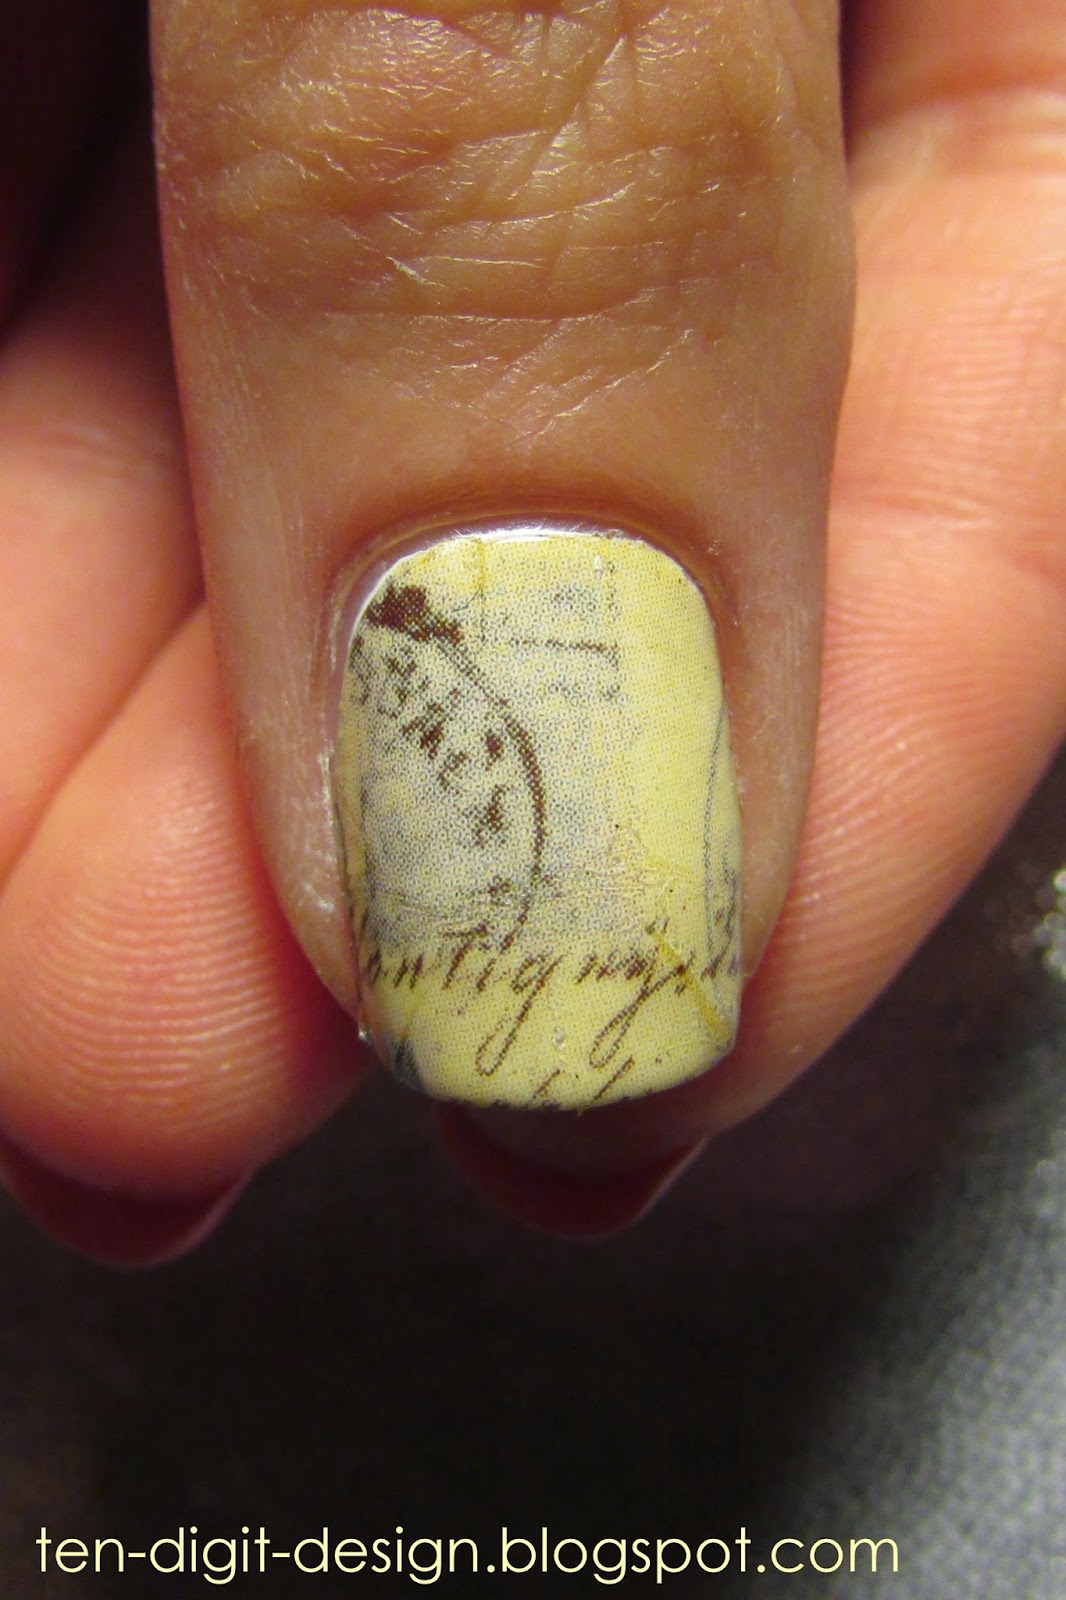
I finally bought some nail tattoos from Walmart!  I have been meaning to try those out for a while and I finally got around to it!  My semester is looking up a little because I dropped a really terrible class, but I am still crazy busy.  I have been able to do my nails around once a week, though.  This is from days ago (I don't even have it on my nails anymore), but I am going to do my nails again tomorrow for my birthday celebration!  I am going to be 20 on Monday!  I can't wait!  And it feels weird saying that I am going to be 20!  Okay, anyway, here is what I came up with days ago:


I started out with a coat of Essie Protein Base Coat and then painted two coats of Sinful Colors Snow Me White on the nails that I would be applying the tattoos to (in this case, my ring finger and thumb), and two coats of Sally Hansen Pink Blink (which I also bought at the same time I bought the nail tattoos) on the other nails.  I then used a dotting tool and top coat to stick the 2 mm gold square studs I got from Born Pretty Store to my pink nails.  I finished those nails off with two coats of Sally Hansen Dries Instantly.

Before applying the tattoos to my nails, I cut out the bits that I wanted on each nail and roughly trimmed the tattoos to the shape of my nails.  I then removed the plastic covering from the tattoo bits and picked one up with tweezers and dipped it into a little glass of water (I used a shot glass because it was a really nice size) and held it in there for a second or two.  I then took the tattoo and placed it face down on my nail and held it there for around ten seconds before easily sliding the paper backing off of my nail, leaving the tattoo behind.


I then smoothed down the tattoo and pressed the loose ends against the sharp tip of my nail so I could carefully removed the excess.  I used an orange stick to carefully break the excess around my cuticles.  I then took a nail art brush dipped in acetone and cleaned up even more.  The tattoos do dissolve in the acetone, but I would suggest taking off larger pieces of excess tattoo first and then using acetone to clean up small edges that you can't reach any other way.  I practiced on my right hand first and using acetone to clean up all of it was messy and sticky.  Also, I would recommend cutting the edge that will go at your cuticle with a curve so you have slightly less clean up to do.

I finished off the tattooed nails with two coats of Dries Instantly, as well.

I am super happy with the nail tattoos!  They were pretty easy to use and they looked so cool!  And they are only a couple dollars at Walmart for a set that comes with around 18 small sheets (by "small" I mean around 1 by 2 inches.)  The brand is "Heart 2 Art," by the way.