Showing posts with label french tips. Show all posts

Friday, June 19, 2015

Classic French Tips

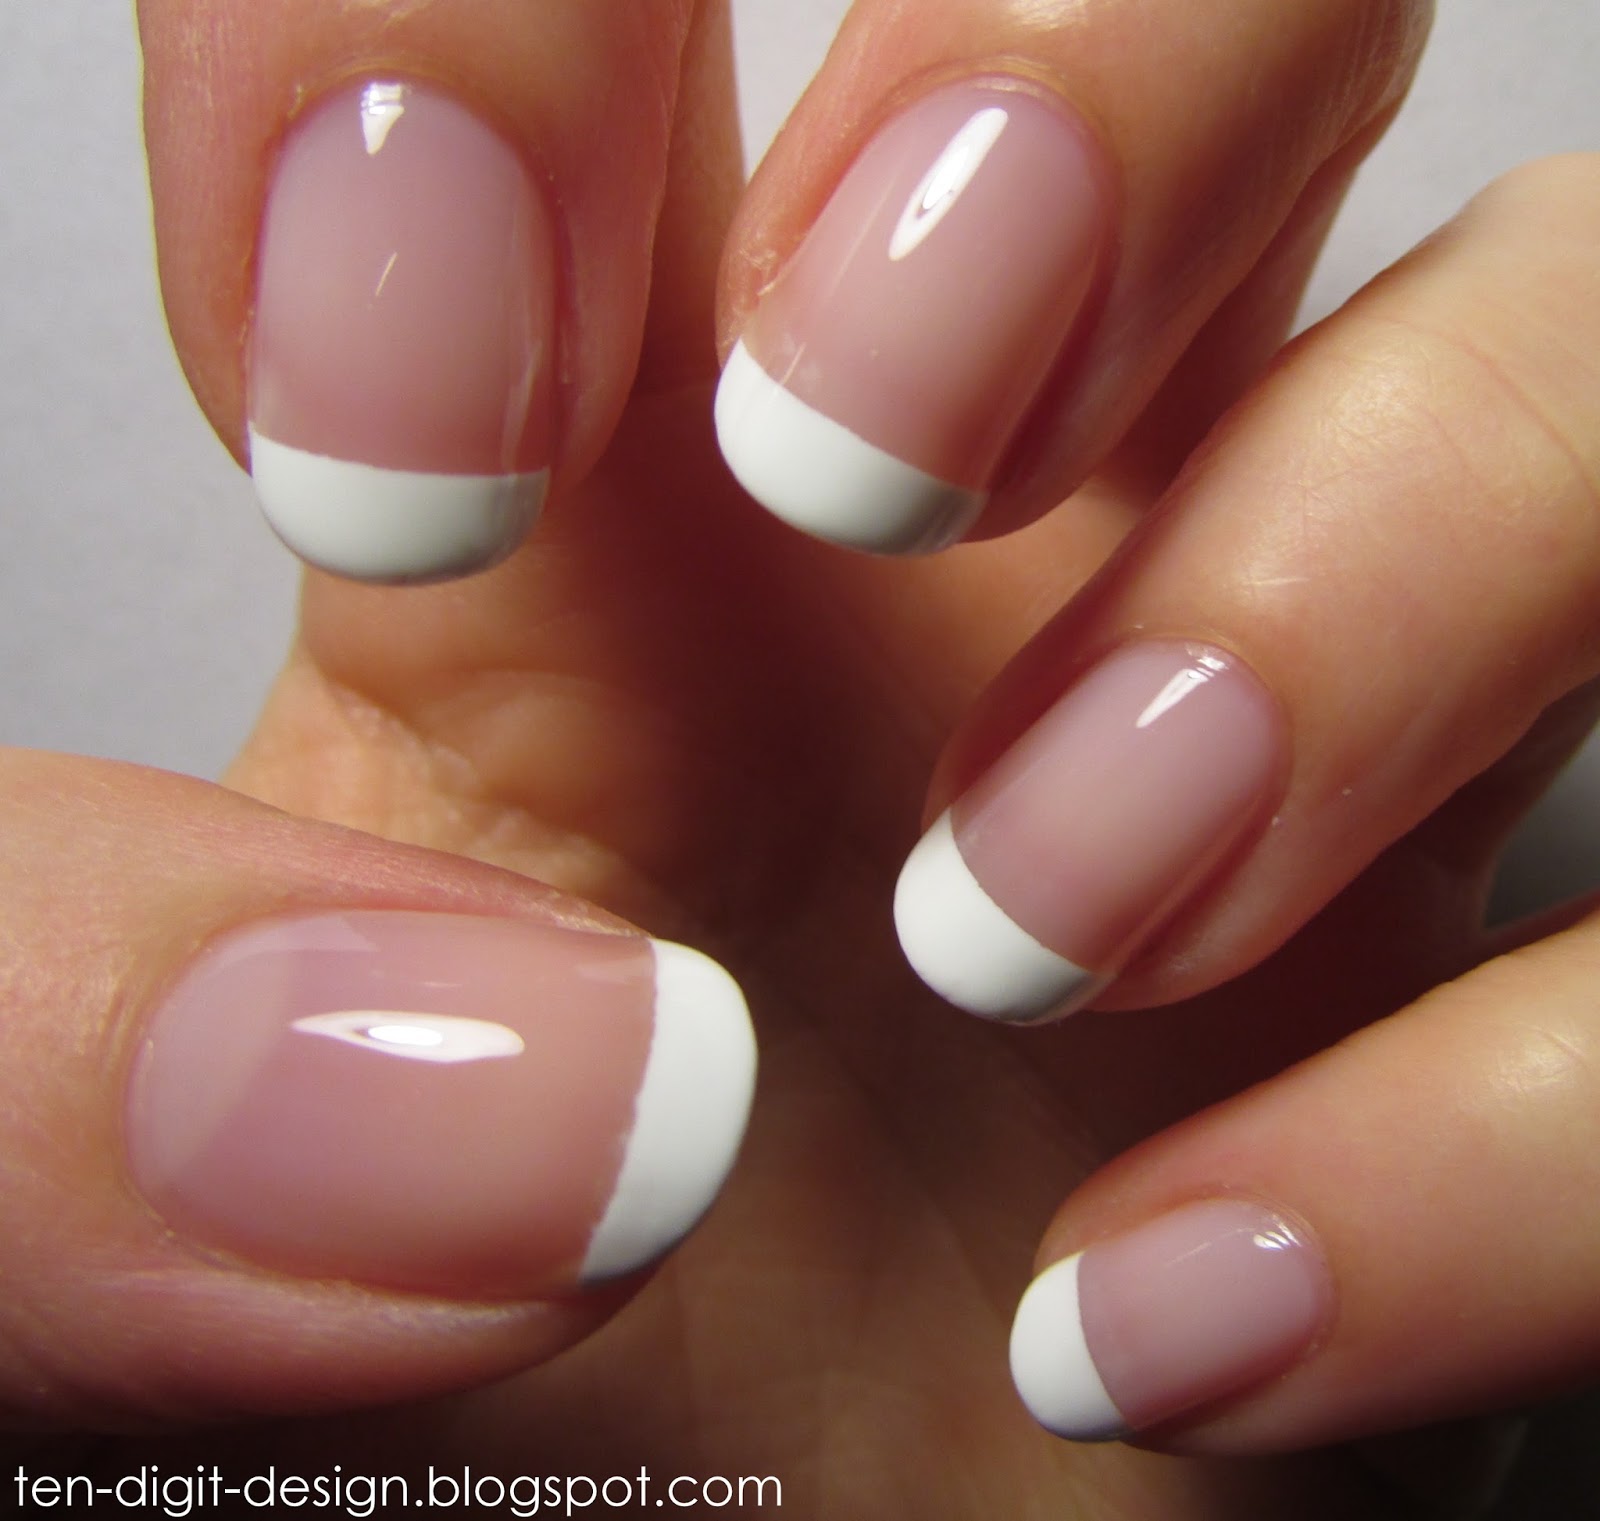
A manicure that is sure to go with absolutely anything is the french tip.  I absolutely love french tip manicures.  They are so classy and elegant.  Whenever I have a french tip mani, I can't stop looking at my nails.  A while ago I did a basic french tip manicure on my nails.  French tip manicures can also be spruced up with different colors, glitter, rhinestones, studs, and whatever else you want!  Here's my version of a classic french tip:

french tips

I started out with a coat of OPI Natural Nail Base Coat and then applied two coats of Pure Ice Satin Ribbon, a very light pink sheer polish (the typical pink used in french manicures).  I then applied a coat of Sally Hansen Dries Instantly because I planned on using french tip guide stickers to create perfect tips (you can also use striping tape, scotch tape, any other type of tape, or just do it freehand).  
french tips

I applied my french tip guides and then used Sinful Colors Snow Me White for the french tips.  I removed the tape right away and then applied two coats of Sally Hansen Dries Instantly.

french tips

Here's something interesting:  I have read that the french tip is actually American.  A Hollywood makeup artist invented it because it went with any outfit a woman would be changing into.

french tips


Friday, March 27, 2015

Pink and Teal French Tip Mani

I did this manicure months ago at this point.  I am letting my nails have a little break while I wait for my new base coat to ship to me.  I, luckily, have three older manicures saved up for occasions such as this.  

colorful french tips

I started out with a coat of Essie Protein Base Coat.  I then applied two coats of Essie Go Overboard.  When that was dry, I applied a coat of Seche Vite top coat before applying pieces of striping tape for my french tip guides.  I then used Sally Hansen Rockin' Hard for the french tips and immediately removed the striping tape after painting each tip.

colorful french tips

I finished off with two coats of Seche Vite.  I then threw out my bottle of Seche Vite because it always shrunk my manicures.  I think I just had a bad bottle because everyone else who talks about Seche Vite says it is great and never shrinks their manicures.  Maybe my bottle was just old.  I ordered it online.  I might try a new bottle of it some day.

colorful french tips

Follow me on Snapchat!


Monday, November 10, 2014

Veterans' Day French Tips


I have been wanting to do this manicure for a long time now, and I thought it was a very fitting time for it since it is Veterans' Day in the United States tomorrow.  

patriotic french tips
Veterans' Day french tips
 I started out with a coat of Essie Protein Base Coat.  I then painted on two coats of Revlon Pale Cashmere on all my nails and finished that off with a coat of Sally Hansen Dries Instantly to avoid pulling up my base color with the tape.  When that was all dry, I applied french tip guides on all my nails.  I made sure that I stuck them all to the back of my hand first to make them a little less sticky.  

I then created a red, white, and blue french tip pattern and immediately removed the tape.  The red is Rimmel Stiletto Red, the white is Sinful Colors Snow Me White, and the blue is Sinful Colors Into the Blue.  I finished off this manicure with two coats of Sally Hansen Dries Instantly.

patriotic french tips

Thank you to all of the men and women who have served America in such a noble, significant way.  I am patriotic because of you.  

Saturday, October 4, 2014

Burgundy French Tips


So, another week has gone by.  I was inspired to do this manicure a while ago when I was looking in a Nordstrom catalog.  I wasn't interested in any of the items being advertised, but one model had dark red french tips and I thought they looked AMAZING!  So, I finally got around to recreating that manicure:

red french tips

I started out with a coat of Essie Protein Base Coat.  I then painted on one coat of Sally Hansen Innocent Nude, which is a sheer peach-ish color.  When that had dried I painted on a coat of Sally Hansen Dries Instantly so my tape wouldn't pull up my base color.  I took ten french tip guides and stuck them on the back of my hand so they wouldn't be too sticky on my nails (this is pretty important because it is SUPER frustrating when a sticker is too sticky and gets completely stuck to your polish and then ruins the entire painted nail when you pull it up.)

I then applied those to my nails near the tips.  I made sure that I applied them so that entire tip of each nail would be painted red.  I then painted on a coat of Rimmel Burgundy Flirt (which I LOVE-- it is the perfect blood red) and then immediately removed the french tip guides from each nail.  I finished off the manicure with two coats of Dries Instantly.

I love this manicure because it looks super classy and elegant and clean.  This actually lasted for a week on my nails before I took it off!

red french tips

Wednesday, June 4, 2014

Interspecies Romance

I wanted to use some nail stickers to create a super cute manicure! I sort of just made this manicure up as I went along and I am extremely happy with the result. Sorry about the state of my cuticles. They are very dry for some reason:
I started out with a coat of Essie Protein Base Coat. I then painted on two coats of Essie Borrowed & Blue. After that had dried for a while, I applied strips of striping tape a few millimeters away from the tips of my nails. I used these so I could create perfectly straight french tips. On my thumb, pointer, and middle fingernails I used Sally Hansen Rockin' Hard, and on my ring and pinkie fingernails I used Rimmel Wild Orchid. (I just used the brushes in the bottles.) I really like the asymmetrical result. I would usually paint my nails with alternating colors, but I wanted to try something different. After painting on each french tip, I immediately took a pair of tweezers and removed the striping tape. Then, using the tweezers again, I applied a poodle nail sticker to my ring fingernail and made it appear as if it was standing on the french tip. I also took a cat nail sticker and made it stand on the french tip on my pointer fingernail. I was going to leave it at that, but then I was looking at the nearly finished product and I imagined a heart on my middle fingernail. I HAD to add that heart, and luckily I did have a heart nail sticker! (If I hadn't, I would have used polish.)
I finished off with two coats of Sally Hansen Dries Instantly.

Sunday, January 12, 2014

Glitter French Tips

I meant to do this design around Christmas, but never got around to it, so I decided to do it the other day.  I hadn't done french tips in so long!


I started out with two coats of Sally Hansen Innocent Nude.  Then I put on a coat of Sally Hansen Dries Instantly because I used tape to create clean tips.  (The fast drying top coat keeps your base color from lifting up with the tape).

I cut slightly curved pieces of masking tape for my tip guides.  You can buy stickers made for creating french tips, but I don't have any.  You can substitute them by cutting straight strips of tape, or slightly curved strips.  You can also freehand the french tip, but that can be tricky on short nails, like mine.  Here is what the tape I used looked like before I put it on:


It is good to stick tape like this to the back of your hand first to take off a teeny bit of the stickiness.  I applied the tape a little from the tips of my nails and then painted the tips sticking out farther than the tape with Nicole Glitter in My Stocking.  I then quickly removed the tape.  My top coat is old, so it didn't dry as fast as I intended and the tape left imprints in it when I took it off, but my final top coats (two coats of Dries Instantly) totally hid that.  On a few of my nails I accidentally got a little bit of polish under the tape, so the edge was not straight.  I covered this up by adding a stripe of silver to all of my nails, just above the gold.  I used a Salon Perfect striper in Silver Plated.  There are always ways to hide your mistakes!  I never have much patience for removing the polish on an entire nail and starting over.  Haha!